HOW TO MAKE DYNAMIC LIVE STREAM OVERLAYS
How is it done?
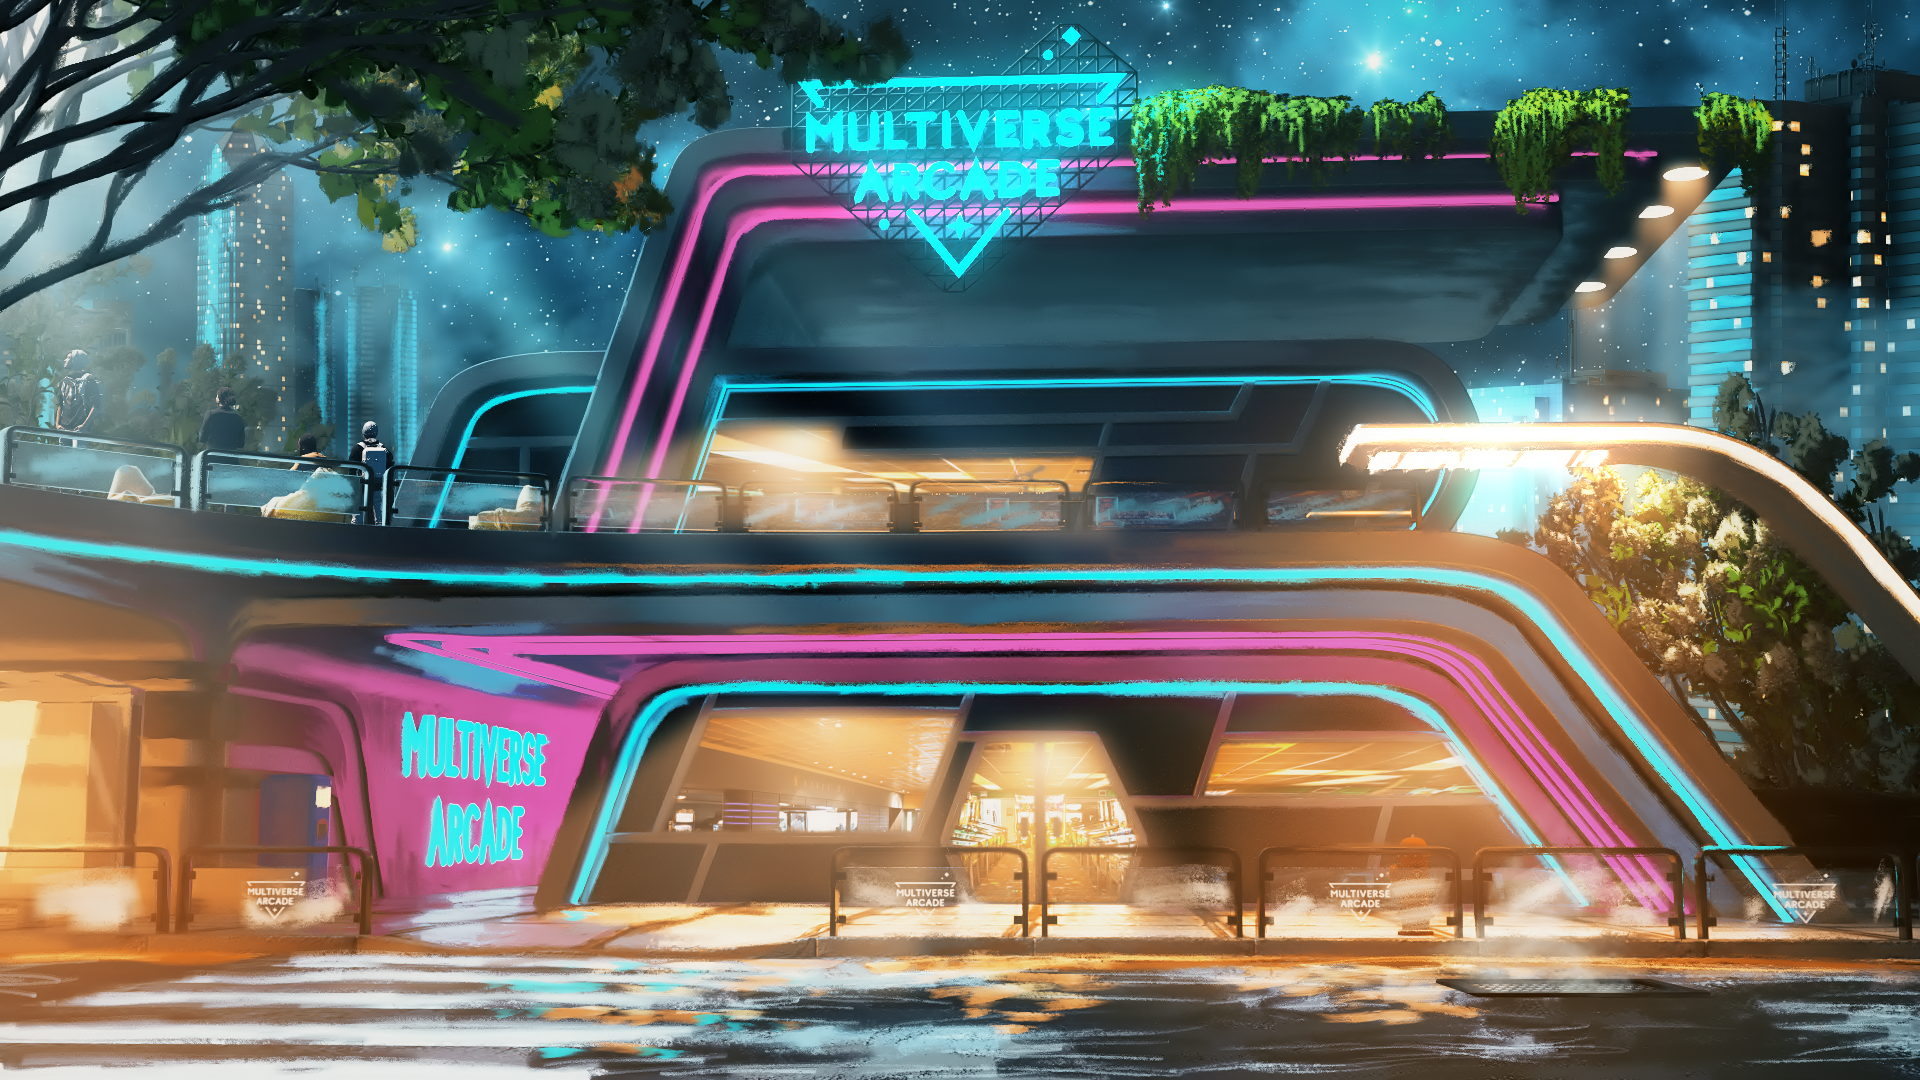
Layering and looping videos. Seriously that core concept is easy, but the key is having an artist bring the scenes to life. I was lucky enough to work with an exceptionally talented artist Dejan Gotić. I give him all the credit in the world for taking my briefs and bringing my worlds to life.
Step 1 - Design the Background
Tools Needed:
Graphic Design Software: Adobe Photoshop, Illustrator, or free alternatives like GIMP.
3D Modeling Software (optional): Blender, Cinema 4D, Unreal engine.
Steps:
Create a Background Image: Design a high-resolution background image. This could be a static image or a looping animated background.
Incorporate Key Elements: Include elements like your logo, social media handles, and a thematic backdrop.
Design Overlay Components: Design overlays for webcam frames, alerts, and chat boxes.
Step 2 - Animate the Background (Optional)
If you want animated elements, you can create them using:
Adobe After Effects: For 2D animations and motion graphics.
Blender, Unreal Engine or Cinema 4D: For 3D animations.
The Overlay background for the Multiverse Arcade by RADAUSTIN27 or Reed Austin.
Step 3 - Use Green Screen for Yourself
Setup:
Green Screen: Purchase a green screen or use a green fabric. I use the Elgato pull up green screen.
Lighting: Ensure even lighting to avoid shadows and achieve a clean chroma key effect.
Step 4 - Streaming Software Setup
Use streaming software like OBS Studio, Streamlabs OBS, or XSplit.
Software set Up Steps:
Add Your Background:
Open your streaming software.
Add a new scene.
Add your designed background as an image or video source.
Add Green Screen Effect:
Add your camera as a video capture device.
Apply the chroma key filter to remove the green background.
Add Overlays:
Add your designed overlays (webcam frames, alerts, etc.) as image sources or browser sources.
Here is an excellent video tutorial to follow for OBS set up.The same methodology applies to Xsplit.
Step 5 - test Your Setup
Before going live, run several test streams to ensure everything looks good and runs smoothly.
Example Resources and Tutorials:
OBS Studio Tutorials: Look up tutorials on YouTube for setting up chroma key and adding overlays in OBS Studio.
Graphic Design Resources: Websites like Canva, Freepik, and GraphicRiver offer templates and assets.If you have the income there are premade overlays you can purchase as well hire artist contractor services to bring your specific vision to life.
Animation Tutorials: Search for After Effects and Blender tutorials for creating animations. This is a rabbit hole I fell down, then eventually conceded I better hire a professional.
Step 6 - Have Fun
Nothing is going to make you the next big streamer overnight, but you can be you! If you ever had the itch to create something like my Multiverse Arcade production, you can by following these steps. I made mistakes, adjusted things, and kept improving until I was finally happy with the set up. You can be the judge of how it turned out.
-Reed


